
Pickleball fans are outstandingly passionate about their craft, so it makes sense that they might want to build a Pickleball court at home.
A Pickleball court has dimensions of 30 feet by 60 feet so that it can fit in your backyard, but at what cost?
The cost varies depending on the materials, the size, condition of the initial space, and more.
Let us look at what you need to build a court, including the money it will require to help you make better decisions in the process:
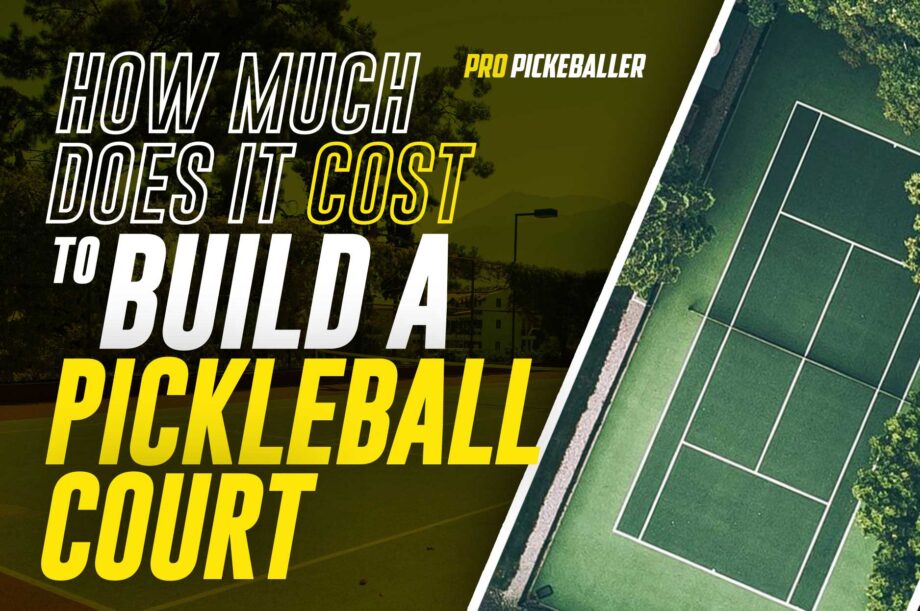
How Much Does It Cost To Build A Pickleball Court?
The average cost for a Pickleball court will be approximately $15 or $18 per square foot, which will amount to about $30k for a standard court. If the ground on which you want to build the court is uneven, you will spend extra money flattening it since a Pickleball court has to be flat. If you already have a basketball court, the cost will drop significantly.
What To Consider When Building A Pickleball Court
If there aren’t enough Pickleball courts in your area, it could be a good idea to build your own. It is not too complicated, but there are some crucial facts you need to consider to ensure you get it right, let us look at them to make the experience easier for you:
- The first and simplest concern is space. You should have enough space to fit a playing area and leave some room around the sides since it is common for players to run out of the court.
- Ensure you don’t build the court over septic systems since it is illegal in most areas for safety reasons. The system could collapse due to the added pressure of the construction and games you will have on it regularly.
- Make sure you build your court away from any big trees with long roots. Trees tend to spread their roots over long distances, and it might end up breaking up your court after a few years if you build too close.
- In some areas, you need prior permission from the authorities to build a court. If you live in such a place, make sure you get a permit to avoid friction with the law.
- The state of the ground on which you are building is also a significant issue. You can go on with the project; if the ground leans on one side, you must flatten it before creating the court.
- If you are unsure about the details, choose an excellent contractor to do it for you. The contractor will deal with the law, measurements, material, and all you will need to do is pay for the project.
How To Setup A Temporary Pickleball Court
Pickleball is a fun and easy game to play, but it could be challenging to find a court at times. The game is growing more popular, but there are still not enough courts, and most of them could be far away from your home.
If you are in such a situation, we have a guide to help you make a temporary Pickleball court in your home. The size of the court allows it to fit in driveways, gymnasiums, tennis courts, or basketball courts. Let’s get into it!
First off, you have to make sure that the surface you intend to use is smooth and flat. If the surface is bumpy, the ball will bounce irregularly, hence, making the game unenjoyable. A slanting court will put one player at a disadvantage.
To start constructing your temporary court, here are some things you will need: a 24 pack of court marker lines, tape measure, a portable Pickleball net, ball, and paddles.
Use the tape measure and court marker lines to measure out your court. Court marker line easily creates lines on the court without putting you through grueling hours of taping or drawing lines.
You will only place the court marker on specific court points, so it will be easy to remove them if the space needs to provide use for something else. To start, you have to know the Pickleball court dimensions.
The whole Pickleball court is 44 feet long and 20 feet wide. On each side of the net, there is a 7 feet space called the kitchen or the non-volley zone. The remaining part of the court is divided into two service areas 15 feet long and 10 feet wide.
Once the lines are marked out, it is time to set up your Pickleball net. The best thing to do is lay out all the pieces to see how the pipes get into each other before the assembly begins.
Leave the side posts out of your setup until the end. Then, set them in the net before attaching the net to the rest of the poles. It would help if you had a nice sturdy net once you’re finished.
You could install the net on your own, but having someone to help will make it easier and quicker.
Once you have installed the net, you can start having fun with your friends and family in the driveway or wherever you placed your court.
How To Paint A Pickleball Court
Whether you’re building a court from scratch or using a court for a different sport, painting it is necessary for Pickleball.
You could use Picklemaster, which is a specialized coating system meant for Pickleball court surfaces.
The first step is to prepare the court surface. The surface you use must be clear of dust, debris, and loose material that could hinder the court structure. Repair all court defects and cracks with crack sealant or acrylic crack patch.
Make all the repairs smooth to adhere to the initial surface so there aren’t any bumps on your court as they could misdirect the ball.
Once you’re done with repairs, you need to take the court measurements for the play area, which is bigger than the actual court.
Chalk a 30-foot by the 60-foot play area and tape outside the chalk lines and tape masking paper at one end of the court.
Use two tape measures of the same model and a long string line to guide the court layout and put the masking tape paper for the excess product.
As recommended, apply two layers of the acrylic resurfacer throughout the play area when painting the court for the first time. Doing so helps provide a smooth surface for the color system.
You could go with blue for the color system, and there are several choices, including the sport master Picklemaster.
Pour the material is a straight puddle across the court’s width and begin to spread it out as you move towards the end of the court.
Add a new bucket to the existing layer to reduce the pour marks on the surface. Maintain a wet edge and don’t allow the puddle to dry while applying. The excess product will go onto the masking paper, and you can scoop it up with a shovel.
Measure and chalk the playing area of 44 by 20 feet. Measure 15 feet from each outside line, leaving a 14-foot space in the middle, which will be the non-volley zone. It would help if you made it such that the non-volley zone is different from the rest of the court.
Tape masking paper at the end of the kitchens, tape around the court, apply two coats on the non-volley zone, and then do the same for the serving areas. Make sure you have consistently sunny weather when doing this since rain will mess it up.
The coats take about an hour to dry in optimum conditions; high humidity and shades will increase drying time, so give it an appropriate amount of time. Allow each coat to dry well before applying the next one.
Apply two sets of tape, two inches apart, on the areas where you will draw the lines on the court and cut out the tape at intersections.
Apply the line primer or white paint across the marked line and ensure you use a sharp, crisp and clear line for more extended use, and remove the tape immediately after painting. If you do it right, you will get years of good times with your friends and family.
Conclusion
Building a Pickleball court is not too expensive if you already have a surface to work with, like a basketball or tennis court. Making one from scratch will cost more money for the flattening, flooring, and painting.
If you have a basketball court or flat driveway, you could use it as a temporary Pickleball court. You could also turn one to a permanent court if you had the suitable materials for it. Having a personal court will be convenient and ideal for your skill development.


